How to Make Realistic Diorama Concrete: A Step-by-Step Guide
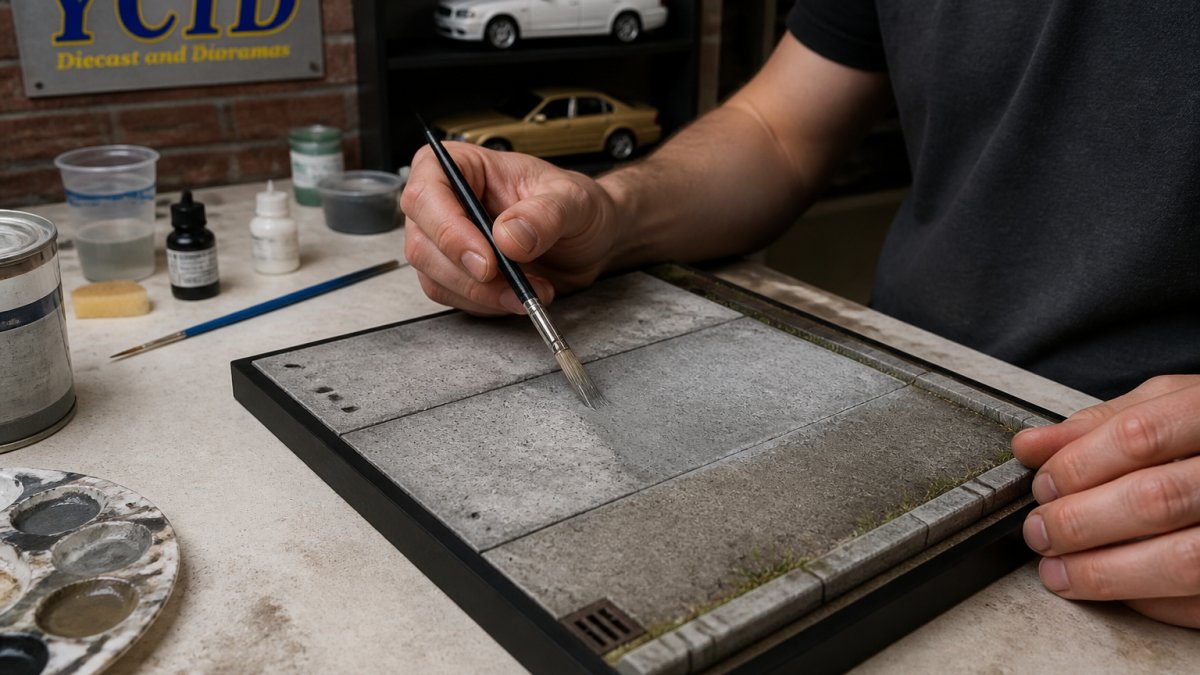
Table of Contents
- Materials and Tools You'll Need
- Preparing Your Diorama Base Surface
- Best Materials for Diorama Pavement
- Creating Slab Lines and Expansion Joints
- How to Paint Model Concrete
- Simulating Cracks and Surface Damage
- Weathering and Dry Brushing Techniques
- Sealing and Protecting Your Concrete Base
- Frequently Asked Questions
Last Updated: October 1, 2026
Materials and Tools You'll Need
Creating realistic diorama concrete starts with gathering the right supplies. You'll need foam poster board or similar base material, wall spackle or modeling paste for texture, acrylic paints in grays and blacks, brushes of various sizes, and sealant for protection. A scoring tool or hobby knife helps create slab lines and expansion joints. Many builders also use stippling brushes, foam applicators, and old toothbrushes for texture effects.
The foundation matters more than you might think. A sturdy base prevents warping and gives your diorama concrete a professional appearance. Foam poster board works well because it's lightweight and easy to cut. For more detailed work, consider wall spackle as your primary texture medium, it adheres well and accepts paint beautifully.
Here's what experienced builders recommend keeping on hand:
- Foam poster board or foam core for the base
- Wall spackle or mortar filler for texture
- Gray, black, and white acrylic paints
- Brushes: flat, round, and stippling varieties
- Scoring tools or craft knives
- Sealant spray or matte finish coating
- Water container for rinsing brushes
- Palette for mixing custom colors
Preparing Your Diorama Base Surface
Before applying any texture, prepare your base properly. Sand the foam poster board lightly to help paint and spackle adhere better. Remove any dust with a damp cloth and let it dry completely. This step prevents bubbling and ensures even coverage when you apply your texture medium.
The surface preparation determines how realistic your final concrete will look. A rough, uneven base catches light differently than a smooth one, mimicking how real concrete varies. Spend time on this stage, it's where many builders skip ahead and regret it later.
Start with these preparation steps:
- Lightly sand the foam surface with fine-grit sandpaper
- Wipe away dust with a slightly damp cloth
- Allow complete drying before proceeding
- Check for warping and flatten if needed
- Mark your planned slab lines lightly with pencil
Best Materials for Diorama Pavement
Foam Poster Board and Spackle Foundations
Foam poster board provides an excellent base for diorama concrete because it's affordable, lightweight, and accepts texture well. However, material choice becomes more critical when you consider your specific scale. For 1:18 scale dioramas, standard foam poster board (typically 3/16" thick) works reliably, but the texture medium you pair with it matters significantly.
Wall spackle applied over the foam creates a realistic concrete surface, but durability varies by product type. Standard joint compound (the most common choice) is economical and accepts paint beautifully, but it's hygroscopic, it absorbs and releases moisture with humidity changes. Over months or years in an uncontrolled environment, this can cause subtle warping or cracking, especially in larger diorama bases. Many experienced builders report that lightweight spackling compounds perform better long-term because they're formulated to resist moisture fluctuation.
Alternative fillers each have trade-offs:
- Joint compound (standard): Most affordable, easy to work with, but prone to humidity-related cracking over 12+ months in humid climates
- Lightweight spackling: Better moisture resistance, slightly more expensive, holds fine detail well
- Two-part epoxy filler: Excellent durability and moisture resistance, but requires careful mixing and has a shorter working window (15-30 minutes)
- Foam-safe texture medium: Specifically formulated for foam bases, prevents adhesion failure, but less commonly available
- Mortar-based products: Very durable and realistic, but heavier and slower-drying
For 1:18 scale displays where your diorama will sit for years alongside your diecast model cars, lightweight spackling or epoxy fillers justify the extra cost. The difference becomes obvious after 18-24 months: standard joint compound may show fine crazing, while quality alternatives remain stable.
Creating Realistic Concrete Texture
Texture is what separates amateur diorama concrete from professional-looking displays. Use various tools to create surface variation: stipple brushes for porous texture, foam applicators for rough areas, and old toothbrushes for fine details. Random texture application looks more realistic than uniform patterns.
The key is inconsistency. Real concrete varies in texture across its surface. Some areas are smoother, others rougher. Some sections have more aggregate showing through. Replicate this variation by changing your application technique across different areas of your diorama base.
Scale-specific texture density matters more than most guides acknowledge.
Try these texture techniques:
1/64 Yenko Dealership Lot Pad →
- Stipple brush for general porous concrete look (light pressure for 1:18 scale)
- Foam applicator for rough, uneven areas (dab rather than drag)
- Toothbrush for fine surface details (flick bristles rather than scrub)
- Sponge dabbing for varied texture (use natural sea sponge for irregular patterns)
- Scratching with a tool for aggregate exposure (use after spackle firms but before full hardening)
- Combination techniques for depth and realism (layer different tools in the same area)
Creating Slab Lines and Expansion Joints
Slab lines and expansion joints make diorama concrete look authentic. These joints break up large concrete surfaces just like real pavement. Score them into your spackle before it fully dries, or cut them after with a hobby knife. Proper joint spacing creates visual interest and structural realism.
Expansion joints should appear as:
- Parallel lines running across the surface
- Evenly spaced for visual rhythm
- Slightly recessed for shadow depth
- Consistent width throughout
- Darker than surrounding concrete after painting
How to Paint Model Concrete
Base Coat Application and Color Theory
The base coat sets the foundation for your entire concrete appearance, but most builders treat it as a single gray tone, a missed opportunity. Real concrete is never pure gray. It contains subtle undertones of blue, brown, yellow, and even green depending on aggregate composition, age, and environmental exposure.
- Aggregate composition: Limestone-heavy concrete reads slightly warmer (tan-gray); granite-heavy concrete reads cooler (blue-gray)
- Age: New concrete is slightly cooler and bluer; aged concrete develops warm yellows and browns from oxidation
- Moisture history: Areas that stay damp develop greenish or brownish casts; dry areas appear lighter and cooler
- Exposure: Sun-exposed concrete fades and warms; shaded concrete retains cooler tones
Mix three base coat variations before applying:
- Cool gray base: Standard gray (Neutral Gray or similar) + tiny amount of ultramarine blue. Use this for 60-70% of your surface, especially shaded areas and newly poured sections.
- Warm gray accent: Standard gray + small amount of raw sienna or burnt umber. Apply this to 20-30% of the surface in irregular patches, concentrating near edges and high-traffic areas.
- Aged gray highlight: Standard gray + touch of yellow ochre + hint of raw sienna. Use sparingly (5-10%) in areas that would receive maximum sun exposure or have been exposed longest.
Applying Black Wash for Depth
A black wash transforms flat diorama concrete into something with real dimension. Mix black acrylic paint with water to create a thin, translucent liquid, roughly a 1:4 ratio of paint to water, but test on scrap material first. Apply this wash over your entire base coat, allowing it to settle into crevices and texture details. The wash pools in recessed areas, creating natural-looking shadows.
Layered Weathering Washes for Authenticity
After your black or brown wash dries completely, apply a second, lighter wash to specific areas. Mix a very diluted gray (nearly the color of your base coat but slightly darker) and apply it selectively to areas that would experience water runoff: below joints, along edges, and in low spots. This creates the appearance of water staining and mineral deposits without overwhelming the surface.
Simulating Cracks and Surface Damage
Real concrete cracks and deteriorates. Add these details to make your diorama concrete believable. Use a very thin black or dark gray paint applied with a fine brush to create crack lines. Don't make them perfectly straight, real cracks follow the concrete's weaknesses and stress points.
Surface damage includes:
- Fine hairline cracks in random patterns
- Larger cracks near stress points
- Chipped edges along joints
- Spalling (concrete flaking) in worn areas
- Surface pitting from age and weathering
Weathering and Dry Brushing Techniques
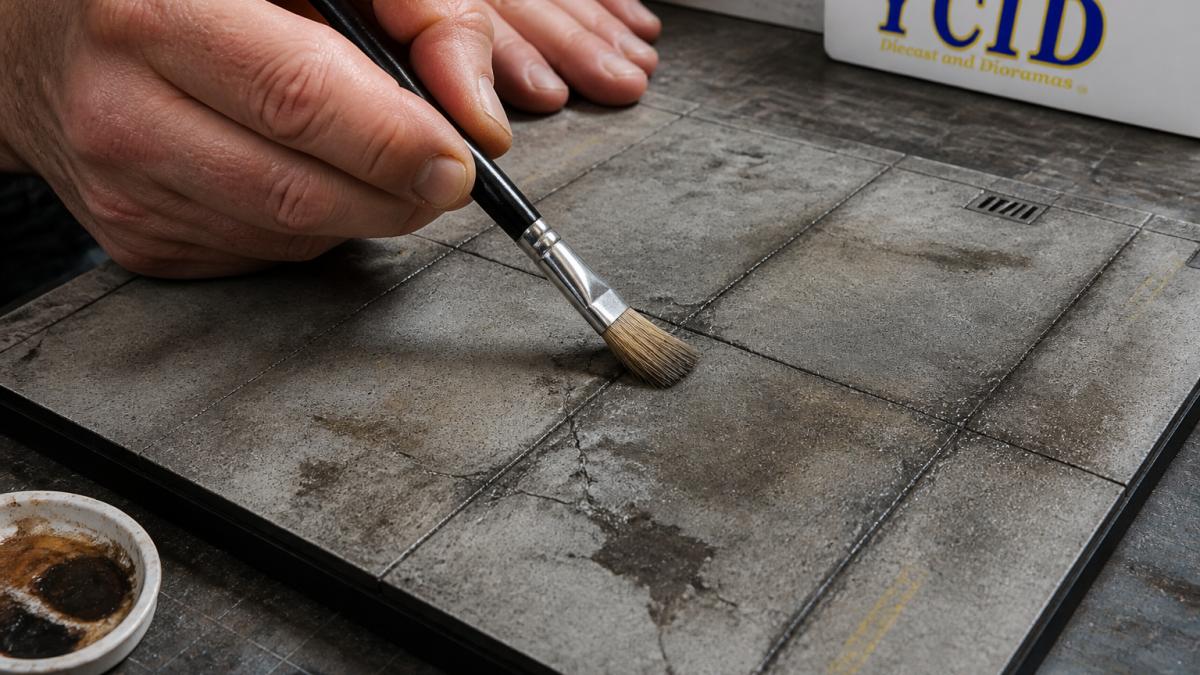
Weathering techniques include:
- Dry brushing with light gray for highlights
- Dark brown washes for oil stains
- Burnt sienna streaks for rust
- Tan dry brush for dust accumulation
- White highlights on raised edges
- Random dark spots for age and decay
Sealing and Protecting Your Concrete Base
Seal your finished diorama concrete to protect it from dust and handling damage. Use a matte finish spray sealant rather than glossy, concrete doesn't shine. Apply thin coats, allowing drying time between applications. Two to three coats provide adequate protection without creating a plastic appearance.
Frequently Asked Questions
What's the best way to create realistic concrete texture for 1:18 scale diorama bases?
Start with a foam poster board or foam base, then apply wall spackle or mortar filler mixed with acrylic paint. Use a stippling brush or sponge to create an uneven, porous surface that mimics real concrete texture. For 1:18 scale, keep texture details fine, large bumps will look oversized. Allow the base coat to dry completely, then apply black wash into recesses to add depth and shadow, making the texture more visible and realistic.
How do I simulate cracks and weathering on model concrete?
Score fine lines into your texture medium before it fully dries to represent expansion joints and slab lines. For cracks, use a fine-tipped tool to scratch thin lines into the dried surface. Apply diluted black or dark gray acrylic paint into these cracks. For weathering, dry brush lighter grays and whites across the surface to highlight raised areas, then add oil stains using diluted dark brown or black paint in random spots to suggest age and use.
Can drywall compound work for creating concrete texture in dioramas?
Yes, drywall spackle works well for concrete texturing on diorama bases. It's affordable, easy to apply, and sands smoothly if you need to refine the surface. Mix it with water to reach a thick, spreadable consistency, then apply with a putty knife or brush. Once dry, you can sand it lightly for a smoother finish or leave it rough for a weathered look. Seal it with matte acrylic varnish before painting to prevent dust and improve durability.
What's the best way to seal concrete textures on a display base?
After painting and weathering are complete, apply a matte acrylic sealer or varnish in thin coats. Matte finish prevents glare and maintains the realistic appearance of aged concrete. Avoid glossy sealers, which make concrete look wet or plastic. Allow each coat to dry fully before applying the next. A sealed base protects your work from dust, handling, and minor damage while keeping your 1:18 scale display looking fresh and detailed for years.