How to Mount 1:18 Diecast Cars in Wall Displays
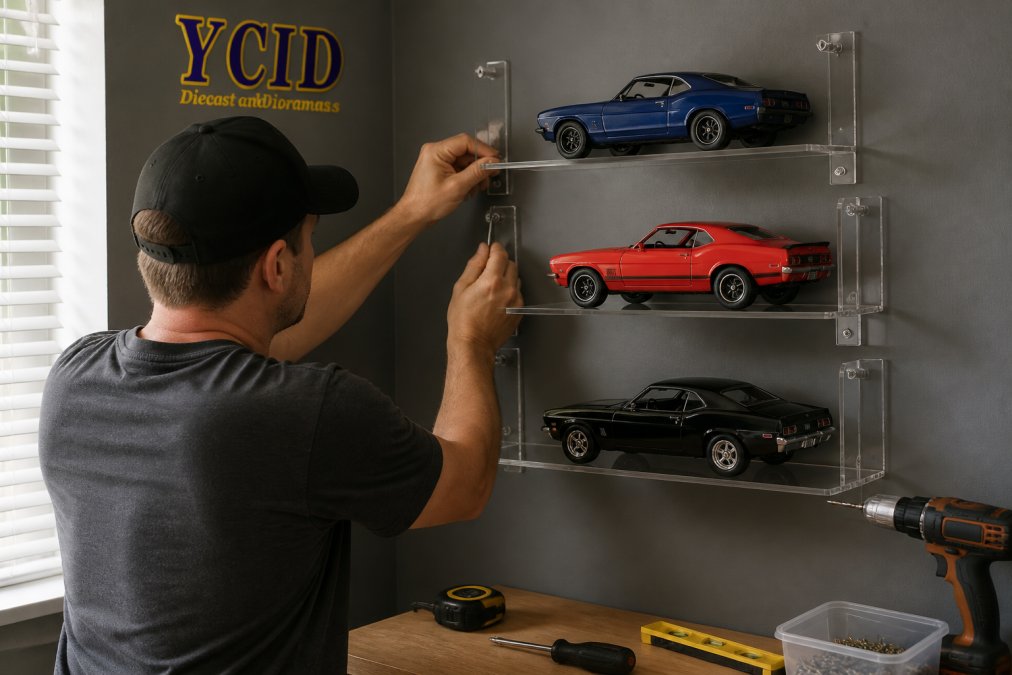
Table of Contents
- What You'll Need Before You Start
- Step 1: Choose the Right Wall and Find the Studs
- Step 2: Pick the Best Display Cases for 1:18 Cars
- Step 3: How to Secure Diecast Cars in Display Cases
- Step 4: Drill, Align, and Fasten the Mounting Hardware
- DIY Diecast Wall Display Ideas for Vertical and Horizontal Layouts
- Weight Distribution, Lighting, and Long-Term Care for 1:18 Diecast Wall Displays
- Common Mistakes to Avoid When Mounting 1:18 Diecast Cars
- Frequently Asked Questions
Last Updated: September 24, 2026
What You'll Need Before You Start
Learning how to mount 1:18 diecast cars in wall displays starts with gathering the right tools before you touch a wall. A little prep now prevents cracked paint, bent axles, and models crashing to the floor later.
Here's your checklist:
- Stud finder (magnetic or electronic)
- Cordless drill with a 1/8-inch bit
- Level (24-inch minimum)
- Measuring tape
- Pencil
- Wall anchors rated for your case's weight
- Screws long enough to bite into studs
- Display cases with mounting hardware included
- Microfiber cloth and soft brush for cleaning models
Step 1: Choose the Right Wall and Find the Studs
The best wall for a diecast display is an interior wall with wood studs spaced 16 inches apart. Studs carry the real load. Drywall alone does not.
Avoid these walls:
- Exterior walls with plumbing or wiring behind them
- Walls above beds or walkways
- Any wall in direct sunlight, which fades paint over time
Step 2: Pick the Best Display Cases for 1:18 Cars
The best display cases for 1:18 cars combine a clear acrylic front, a sturdy frame, and enough depth for the model plus its base. Depth matters more than most buyers realize.
Look for these features:
- Acrylic doors for dust protection and a clear view
- Welded or screwed frame construction
- Pre-drilled mounting holes or a wall-mount bracket
- Adjustable shelf spacing for vertical layouts
Step 3: How to Secure Diecast Cars in Display Cases
Securing diecast cars means locking each model to a base plate so it cannot slide, tip, or roll when the case moves. Movement is what causes paint chips and broken mirrors.
Three reliable methods:
- Screw-mounted base: Remove the model's chassis screws from underneath and re-drive them through the base plate.
- Zip ties: Loop thin ties through the wheels and around the plate. Pad contact points with felt.
- Museum putty: Use removable adhesive putty under each tire for lighter models.
Step 4: Drill, Align, and Fasten the Mounting Hardware
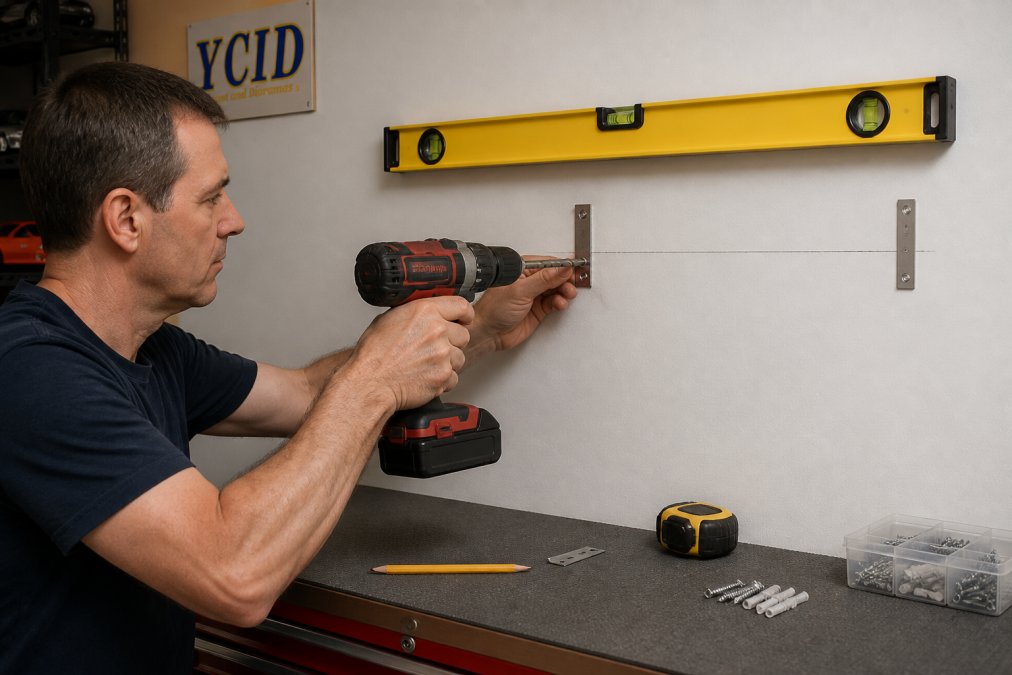
Drilling starts with marks, not the drill. Measure twice, mark once, and check level before any bit touches the wall. But the hardware you choose matters more than the order of operations, so decide that first.
Match the fastener to the load and the substrate
Every mounting point lands in one of two places: a wood stud or bare drywall. They behave nothing alike under load.
- Into a stud: Use a #8 or #10 wood screw long enough to reach 1 to 1.5 inches into the stud. A screw that only bites the drywall plus a half-inch of stud is a screw that strips out. For a case holding 30 to 50 pounds, two screws into studs at the top corners carry the load; the bottom screws mainly stop the case from tipping.
-
Into drywall only: Use a hollow-wall anchor rated for at least double the case's loaded weight. Common types and their honest limits:
- Plastic expansion anchors, fine for a single 1:18 car in a light case, roughly 10 to 20 pounds each in 1/2-inch drywall. Not for a loaded multi-car case.
- Self-drilling metal anchors (often called E-Z Ancor or similar), hold more, but they still rely on drywall's compressive strength. Two of these can carry a modest case if you use four total.
- Toggle bolts, the strongest drywall-only option because the bar spreads load behind the wall. Use them when you have no stud and a heavy case. The trade-off: the hole is large, and removal leaves a visible patch.
The drill sequence
- Hold the case against the wall and mark hole positions with a pencil. Transfer the case's own hole pattern exactly, do not eyeball spacing.
- Set your level across the marks and adjust until the bubble centers. Mark both top holes first; the bottom holes follow the case, not the wall.
- Drill pilot holes at 1/8 inch for screws into studs. For anchors, drill the size the anchor manufacturer specifies, usually larger than 1/8 inch, and no deeper than the anchor length.
- Drive the top fasteners first, leaving them slightly loose. Hang the case, check level, then drive the bottom fasteners.
- Tighten everything, then check level one more time before loading models.
Alignment errors show up fast. A case hung one degree off looks wrong from across the room. Check level after the first screw, not after all four. If you are hanging a column of cases, drill and mount the lowest case first, then work up, you can rest each new case on the one below while you mark holes.
DIY Diecast Wall Display Ideas for Vertical and Horizontal Layouts
DIY diecast wall display ideas fall into two camps: vertical stacks that save floor space and horizontal runs that show off a full row of cars. Pick based on your wall, not your mood.
Weight Distribution, Lighting, and Long-Term Care for 1:18 Diecast Wall Displays
Most guides stop at "use a stud." The real question is how the load travels from the model to the floor, and where that path can fail. This is the part competitors skip.
How the load actually moves
A wall display is a chain: model → base plate → shelf → case frame → mounting holes → fasteners → stud or drywall → wall structure. Every link has a limit, and the weakest link fails first.
- Model to base plate: A 1:18 diecast typically runs 1.5 to 3 pounds. Ten cars is 15 to 30 pounds before you count the case.
- Base plate to shelf: The plate spreads each car's weight over a few square inches instead of a point load under the tires.
- Case to wall: This is where most failures happen. Four mounting points share the load, but only if all four are tight. One loose screw shifts its share to the other three.
- Wall to structure: A stud transfers load straight down to the floor. Drywall transfers load to the studs at its edges, slowly, and with creep over time.
Drywall vs. studs: the honest math
A single 2x4 stud can carry hundreds of pounds in vertical load, so a 50-pound case is not close to a stud's limit. The limit is the fastener and the drywall.
- A #10 wood screw into a stud can hold well over 100 pounds in shear.
- A plastic drywall anchor in 1/2-inch drywall might hold 20 to 30 pounds in ideal lab conditions, less in older, crumbly, or damp drywall.
- A toggle bolt can hold 50 pounds or more per anchor, but the hole is permanent and large.
Load the case, not just the wall
Inside the case, put the heaviest models on the lowest shelf and centered left-to-right. A top-corner model adds leverage that pulls the top mounting screws outward, which is the direction drywall anchors resist worst.
Lighting without heat or glare
Ceiling lights inside a case, like the USB-powered ones in YCID's dioramas, make paint and chrome pop without glare. Two rules keep lighting from becoming a problem:
- Use LED, not incandescent. LED strips run cool; incandescent bulbs bake acrylic and can soften diecast paint over years.
- Aim light down and slightly forward. A strip mounted at the front edge of the case ceiling throws light across the hood and roof instead of straight down into the interior.
Long-term care that protects both acrylic and paint
- Dust with a soft brush or a microfiber cloth. Never a wet cloth on acrylic, water spots etch the surface.
- Clean acrylic with a plastic-safe cleaner and a microfiber cloth, wiping in one direction. Paper towels scratch.
- Keep cases out of direct sun. UV fades diecast paint and yellows acrylic over years, not weeks.
- Check screws twice a year and tighten as needed. Seasonal humidity swings loosen wood screws.
- Rotate models occasionally to spread light exposure.
Modular expansion
Buy cases that share the same mounting pattern and hole spacing. Then you can add units later without redrilling, and a column of cases reads as one built-in unit instead of a collection of mismatched boxes. Measure the hole spacing on your first case and write it down, that number is the spec every future case has to match.
Common Mistakes to Avoid When Mounting 1:18 Diecast Cars
Most failures when you learn how to mount 1:18 diecast cars in wall displays trace back to a handful of avoidable errors. Fix these before you drill.
- Anchoring into drywall only. Drywall crumbles under load. Use studs whenever possible.
- Ignoring total weight. Weigh the case and every model together, not separately.
- Skipping the level check. A tilted case strains one corner and loosens screws over time.
- Screwing directly into the model. Never drill into a diecast body. Use the base plate.
- Placing cases in sunlight. UV fades paint and yellows acrylic.
- Forgetting dust protection. Open shelves collect dust fast. Acrylic doors solve it.
Frequently Asked Questions
What hardware is required to hang heavy diecast display cases?
Use 2.5 to 3-inch wood screws driven into wall studs or heavy-duty toggle bolts rated for at least 50 pounds per fastener. For a 10-pound case holding five 1:18 cars, two stud-mounted screws are enough. Avoid drywall anchors alone. They can pull out under sustained load. If studs are not available, use a French cleat system rated for twice the total weight.
Are acrylic wall-mounted cases safe for 1:18 scale models?
Yes, acrylic cases are safe when mounted correctly. Acrylic is lightweight, which reduces wall stress, and it blocks dust without hiding the model. The key is supporting the base plate, not the acrylic shell. A typical 1:18 diecast runs heavy for its size, so a case holding six cars needs hardware rated for its total weight. Check that the case has a solid back panel for screw mounting.
How do I prevent dust buildup in wall-mounted diecast displays?
Choose a case with a sliding front panel or sealed acrylic doors. The YCID 1/18 scale Universal 2 Car Garage uses a front slide panel that keeps models 99% dust free. For open shelves, add a thin acrylic sheet cut to size, or dust weekly with a microfiber cloth and a soft brush. Avoid compressed air, which pushes dust into wheel wells and engine bays.
Can I use magnetic mounts for 1:18 scale diecast cars?
Magnetic mounts work for light 1:64 models but are risky for 1:18 cars. A typical 1:18 diecast runs heavy for its size. Most magnetic strips hold less than 1 pound and lose strength over time. If you want a no-drill option, use a metal base plate screwed to the wall and rare-earth magnets rated for 5 pounds each. Test the hold for 24 hours before trusting it.
Mounting a wall display takes an afternoon, but doing it right takes a plan: find the studs, weigh the load, secure each model, and check your level twice. YCID Diecast and Dioramas builds 1:18, 1:24, and 1:64 scale dioramas with working ceiling lights, dust-blocking front panels, and pre-fit mounting points, so your collection stays protected and looks sharp from every viewing angle. Get started with YCID Diecast and Dioramas and give your diecast cars the display they deserve.