Build a Muscle Car Diorama: Beginner's Guide
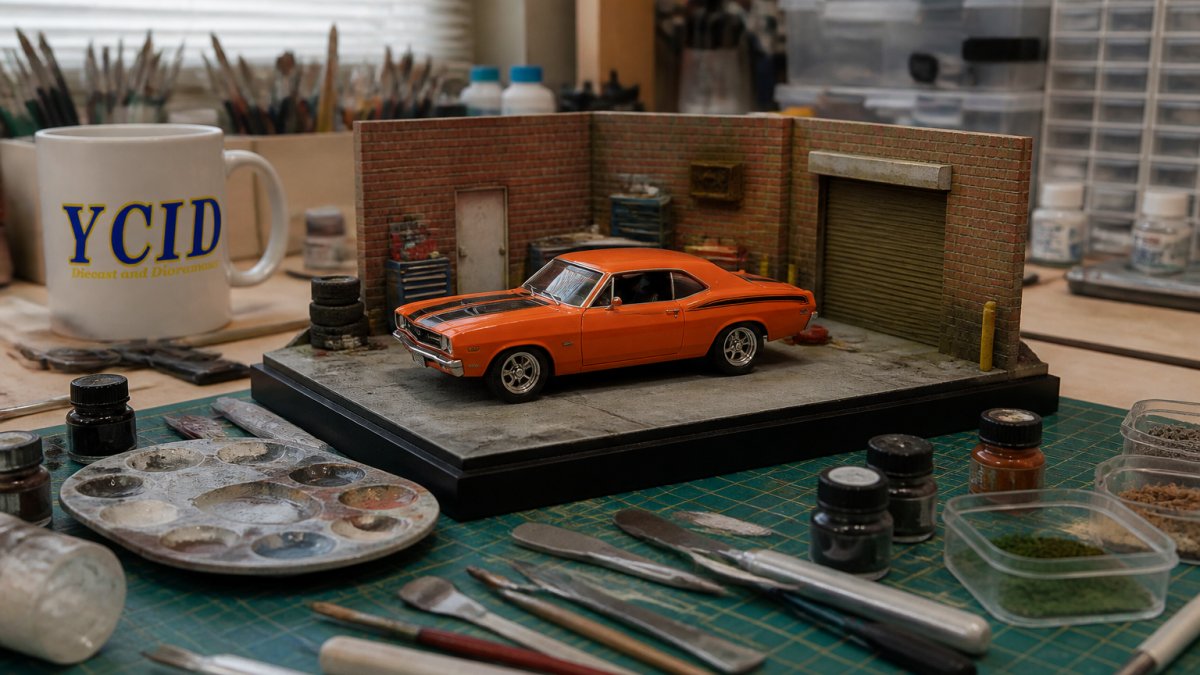
Table of Contents
- What You'll Need: Essential Materials and Tools
- Choosing Your Muscle Car Diorama Theme and Setting
- Building the Base: Creating a Stable Foundation
- Painting and Weathering Your Diorama Surfaces
- Creating Realistic Road Surfaces and Pavement
- Best Display Cases for 1:18 Cars and Dioramas
- 1:18 Scale Garage Diorama Accessories and Details
- Lighting and Photography Tips for Your Diorama
- Frequently Asked Questions
Last Updated: September 30, 2026
What You'll Need: Essential Materials and Tools
To build muscle car diorama displays, you need the right materials to create a realistic, stable showcase for your 1:18 scale model.
Start with foam board or styrofoam (lightweight and easy to cut). A 24 by 18 inch sheet works well for single models. You'll need a hobby knife or hot wire cutter to shape the foam.
Use museum-quality mounting putty to secure your 1:18 scale models without damaging paint. Stock acrylic paint in asphalt gray, dirt brown, grass green, and weathering blacks.
Stock up on these tools and supplies:
- Hobby knife with fresh blades
- Cutting mat (at least 24 by 18 inches)
- Ruler or straightedge
- Paintbrushes (various sizes, natural bristles work best)
- Spray fixative to seal your work
- Glue gun and hot glue sticks
- Weathering powders (rust, dust, dirt tones)
- Miniature scenery props (trees, signs, fencing)
- Sandpaper (fine and medium grit)
- Damp cloth for blending paint
Choosing Your Muscle Car Diorama Theme and Setting
Your theme drives every decision and gives your 1:18 scale model context. Without a clear theme, your diorama feels random.
Garage settings are forgiving and simple to build. Street scenes demand more detail but offer visual impact. Showroom displays work best for multiple models.

Garages let you feature one or two cars with tools and workbenches. Showrooms display multiple models with prestige. Street scenes with vintage gas pumps capture the era.
Building the Base: Creating a Stable Foundation
A solid base prevents warping, cracking, or shifting when you build muscle car diorama foundations. This step determines longevity.
Preparing Your Foam Board Base
Cut foam board to size: 24 by 18 inches for single models, 30 by 24 inches for three models.
Score the foam gently before cutting to prevent crumbling and ensure clean edges.
Seal foam with primer in two thin coats to prevent uneven paint absorption and strengthen against moisture.
Build terrain using foam scraps glued in layers to create natural elevation changes.
Sand all surfaces smooth to ensure proper paint adhesion and realistic weathering.
Securing Your 1:18 Scale Models
Use museum-quality mounting putty instead of permanent glue. This lets you reposition models without damage.
Apply putty to wheel bottoms, press the car into position, and hold for 30 seconds.
Position cars slightly forward and to one side in garages for balance. Center them in showrooms for symmetry.
Check stability by tilting the base gently. Add more putty if the car shifts.
Painting and Weathering Your Diorama Surfaces
Paint and weathering transform raw foam into a believable, lived-in environment.
Priming for Success
Prime all surfaces with gray primer to seal foam, prevent uneven paint absorption, and provide a neutral base.
Apply primer in two thin coats (15-20 minutes apart for spray, 30 minutes for brush). Thick coats trap moisture and cause bubbling.
Let primer cure fully (2-4 hours) before painting to avoid adhesion problems.
Base Painting by Theme
Paint garage floors concrete gray (medium gray, not pure), showroom floors light gray or beige, and street scenes asphalt gray with wear patterns.
For concrete, apply base color, then dry-brush darker gray across the surface to mimic natural variation.
For asphalt, use charcoal gray, paint in travel direction, and vary color to suggest tire wear and weathering.
Let paint dry completely between layers (at least 2 hours) to avoid runs and drips.
Dry Brushing: The Beginner's Best Friend
Dry brushing produces professional results with minimal skill. Load a stiff brush with dark paint, wipe 90% off, leaving only a thin layer.
Drag the brush lightly across raised surfaces to create shadows and age marks. For concrete, dry brush corners and edges. For asphalt, use black along cracks and tire tracks.
Use restraint, multiple light passes look better than one heavy pass.
Weathering Powders for Realism
Weathering powders add final authenticity, creating dust, rust, and dirt effects impossible to achieve with paint alone.
Apply powders after paint dries completely. Use a soft brush on low spots, corners, edges, and cracks. Focus on realism, rust on metal, dust on concrete.
Use rust powder sparingly on metal details. Dust powder suggests age on concrete. Dirt powder creates depth on unpaved areas.
Seal powders with matte fixative spray in light coats from 6-8 inches away. Heavy spray causes clumping.
Blending Transitions
Blend colors where surfaces meet to avoid harsh lines. Add darker gray to corners for shadow. Blend asphalt-to-dirt transitions with brown and gray.
Use a dry brush with neutral color to soften transitions between surfaces.
Creating Realistic Road Surfaces and Pavement
Use medium gray for asphalt, light gray for concrete. Paint in one direction to suggest wear patterns.
Add cracks with a fine brush in irregular lines following natural patterns.
1/18 scale Universal 2 Car Garage →
Apply weathering powder to edges and low spots. Use rust powder on metal surfaces.
Add tire marks with black powder along the car's travel path to suggest movement.
Seal with matte fixative, gloss looks plastic, matte looks real.
Best Display Cases for 1:18 Cars and Dioramas
A quality display case protects your diorama from dust, handling, and sunlight.
Glass cases offer visibility and dust protection.
Acrylic cases are lighter and cheaper but scratch more easily.
Open shelving works in low-dust areas. Wall-mounted shelves save space and allow LED accent lighting.
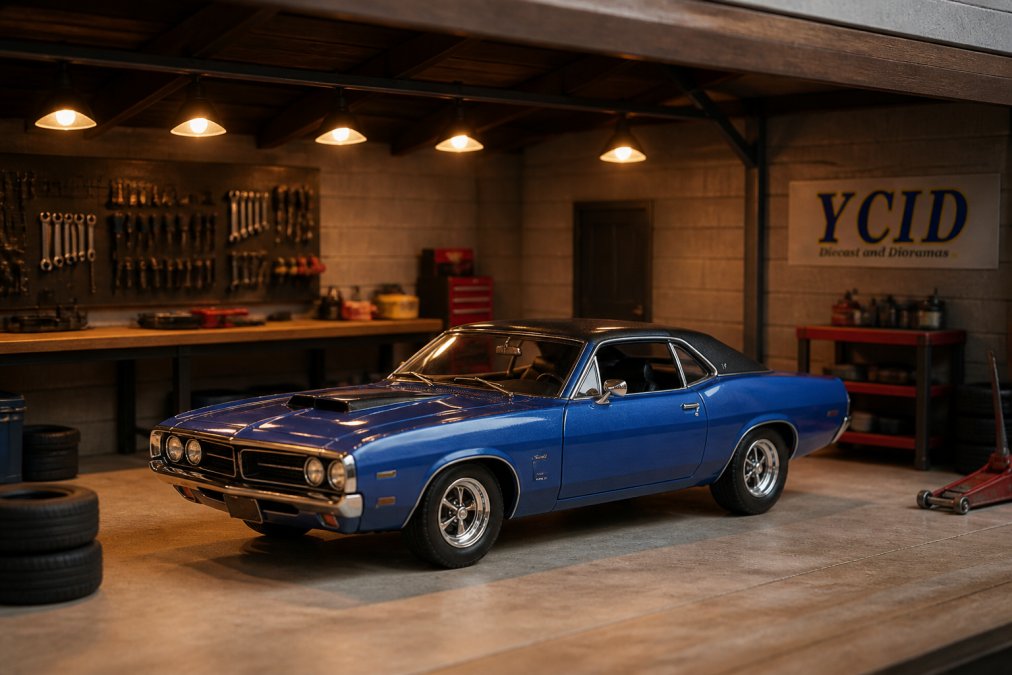
For serious collectors, consider YCID Diecast and Dioramas' display solutions. The Universal 2 Car Garage provides a finished, professional setting for your 1:18 scale models with working ceiling lights and dust protection. It comes partially assembled with clear instructions, and the slide-out front panel keeps your cars 99% dust-free while remaining accessible.
If you display multiple models, the Universal 3 Level Dealership holds 9-12 cars across three floors with professional lighting and a removable front panel. Both options come with USB-powered ceiling lights, transforming your display into a focal point of any room.
Choose a case matching your theme, garage dioramas in garage-style cases, showrooms in bright cabinets.

1:18 Scale Garage Diorama Accessories and Details
Accessories transform a plain base into a believable environment.
Add pegboards, workbenches, and tool chests to define garages. These scale perfectly to 1:18 models.
Add vintage signs, dealership logos, or shop names on foam board behind your model.
Add overhead shop lights to garages and track lighting to showrooms. Paint or use pre-made 1:18 scale props.
Paint flooring details like oil stains and tire marks for easy adjustments.
Add props suggesting activity, creepers, fuel pumps, catalogs, to create narrative.
Keep accessories proportionally sized to 1:18 models (roughly 10 inches long). Oversized props distract.
Lighting and Photography Tips for Your Diorama
Lighting reveals detail and craftsmanship. Learning to photograph and protect your diorama separates casual builders from serious collectors.
Display Lighting Fundamentals
Mount LED strips above your diorama. Warm white (2700K) creates garage atmosphere; cool white (5000K) suggests showroom or daylight.
Use three-point lighting: overhead for general illumination, side lighting at 45 degrees for depth, and accent lighting for details.
Position side lighting to cast shadows suggesting dimension.
Photography for Social Media and Documentation
Learning to photograph your 1:18 scale model properly showcases your craftsmanship online.
Natural Light Setup
Camera Settings
Editing for Impact
Crop photos tightly to focus attention on your craftsmanship.
Long-Term Display Maintenance and Protection
How you protect your diorama determines whether it lasts years or decades.
Dust Protection
UV and Light Damage
Temperature and Humidity
Handling and Transport
Frequently Asked Questions
What are the best materials for building a beginner-friendly muscle car diorama?
Start with foam board or styrofoam as your base, both are lightweight, affordable, and easy to cut and shape. Acrylic paint works well for detailing surfaces, and hot glue or craft adhesive bonds most materials securely. For realistic pavement, use asphalt texture paste or fine sand mixed with paint. Avoid overly complex materials; beginners succeed best with simple supplies they can control and modify easily.
How do I choose the right scale for my muscle car diorama?
The 1:18 scale is ideal for detailed muscle car dioramas because it offers excellent detail visibility and provides enough space for realistic scenery and accessories. If you already own 1:18 scale models, that's your answer. Smaller scales like 1:64 require less space but sacrifice detail; larger scales demand more room. Match your diorama scale to the models you plan to display.
What lighting options work best for displaying a 1:18 scale muscle car diorama?
USB-powered LED ceiling lights are the most practical choice for beginners, they're affordable, energy-efficient, and highlight the scale and detail of your 1:18 models without generating heat. Position lights above or to the side to create shadows that enhance depth. Avoid bright overhead lighting alone; combine it with softer side lighting to reveal surface textures and weathering on your diorama.
How do I prevent dust from damaging my finished diorama and models?
A display case with a sliding front panel or glass doors offers the best protection for your completed diorama. Many dioramas come with built-in dust covers or slide-out front panels that keep models safe while remaining accessible for viewing and photography. Store dioramas in a climate-controlled space away from direct sunlight, which can fade paint and weather finishes over time.
Building a muscle car diorama transforms how you display and enjoy your 1:18 scale collection. The techniques in this guide work for any theme or skill level. Start simple, focus on one element at a time, and let your passion for these cars guide your choices. YCID Diecast and Dioramas provides the finished display cases and premium models that make your diorama shine, with working lighting, dust protection, and the craftsmanship serious collectors expect.