Can You Use Compressed Air on Diecast? Safe Cleaning Guide
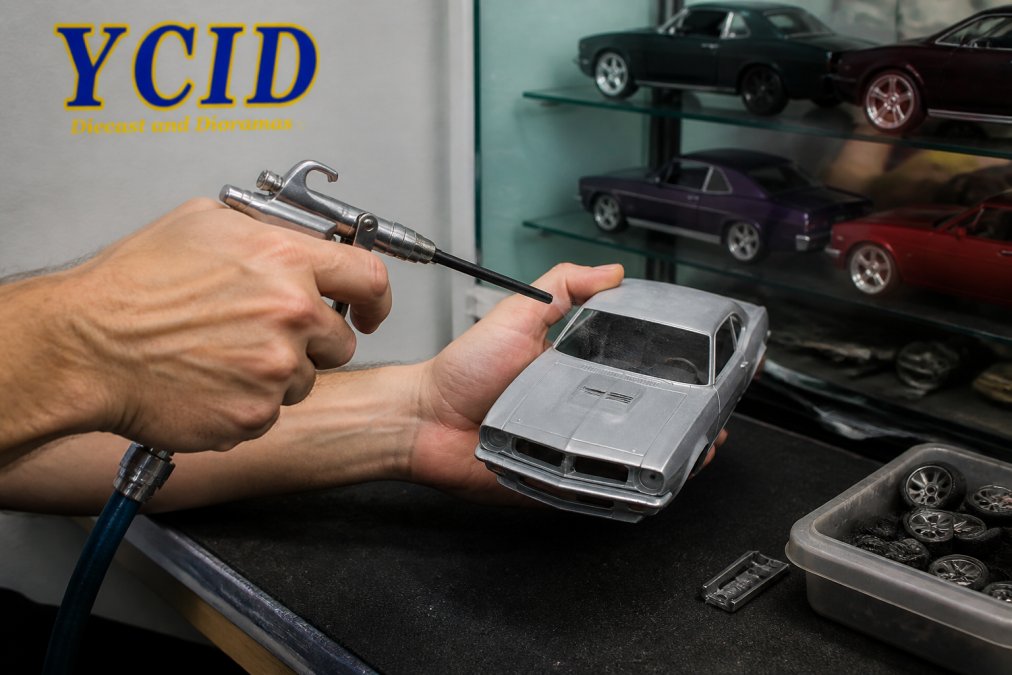
Table of Contents
- Can You Use Compressed Air on Diecast? The Short Answer
- What Compressed Air Actually Does to Diecast Models
- Best Tools for Cleaning Diecast Cars (and When to Skip the Can)
- How to Clean Diecast Models Step by Step
- Handling Delicate Parts, Decals, and Clear Coat
- Alternative Air Sources and Damage Repair
- Maintenance, Storage, and How Often to Clean
- Frequently Asked Questions
Last Updated: September 22, 2026
Can You Use Compressed Air on Diecast? The Short Answer
Yes, you can use compressed air on diecast models, but only with strict limits. Canned air can remove loose dust from hard-to-reach areas, yet the propellant, pressure, and cold it produces can damage paint, decals, and clear coat if you are careless. This guide from YCID Diecast and Dioramas breaks down exactly when compressed air is safe, when it is not, and what to use instead. Below, we'll show you a step-by-step method that protects your models while still getting them clean.
Compressed air on diecast is a common question among collectors, and the honest answer depends on the model, the pressure, and how close you hold the nozzle. Most hobbyists reach for a can because it is fast. The problem is that fast often means risky.
What Compressed Air Actually Does to Diecast Models
Compressed air removes dust by force. On a sealed, sturdy surface, that force is harmless. On a detailed diecast model, it can push debris into gaps, strip fragile decals, and chill the paint until it cracks.
Here is what happens at the surface level:
- Loose dust lifts away from flat panels
- Fine grit gets driven into panel gaps and wheel wells
- Decals and printed details can peel at the edges
- Cold propellant can make paint brittle over time
The risk scales with how detailed the model is. A simple casting handles a light burst fine. A 1:18 scale muscle car with photo-etched badges and tampo-printed stripes is a different story.
Propellant Residue: The Hidden Risk
Canned air is not just air. Most cans contain a liquefied propellant, commonly a fluorocarbon or a hydrocarbon blend, held under pressure so it boils into gas as you spray. That is why the can gets cold, and it is why tilting the can or spraying for more than a few seconds can spit liquid instead of gas.
That liquid leaves a residue on paint and clear coat. The residue shows up as a faint film or oily streak. On a matte or satin finish, it is nearly impossible to remove without disturbing the surface, because the texture that makes the finish matte also traps the film.
Pressure, Temperature, and Static Buildup
Pressure and temperature work together against you. A standard can pushes air hard enough to bend thin plastic parts like mirrors and antennas. The same burst drops the air temperature fast, and that cold shock can hairline-crack old paint. The mechanism is simple: paint and clear coat expand and contract at different rates than the metal casting underneath, and a sudden chill stresses that bond.
Best Tools for Cleaning Diecast Cars (and When to Skip the Can)
The best tools for cleaning diecast cars are a soft-bristled brush, a microfiber cloth, and a controlled air source you can regulate. Canned air is the weakest option for anything valuable, and it should be skipped entirely on decal-heavy or clear-coated models.
For routine dusting, reach for these first:
- Soft-bristled brush for panel gaps and grilles
- Microfiber cloth for flat surfaces and glass
- Electric duster for a steady, propellant-free air stream
- Airbrush with a low-pressure setting for precision work
- Makeup brush for tight interior details
How to Clean Diecast Models Step by Step
Cleaning diecast models safely takes about ten minutes per car and follows a fixed order: dry dust first, then detail work, then a final wipe. Never start with air, and never skip the brush step.
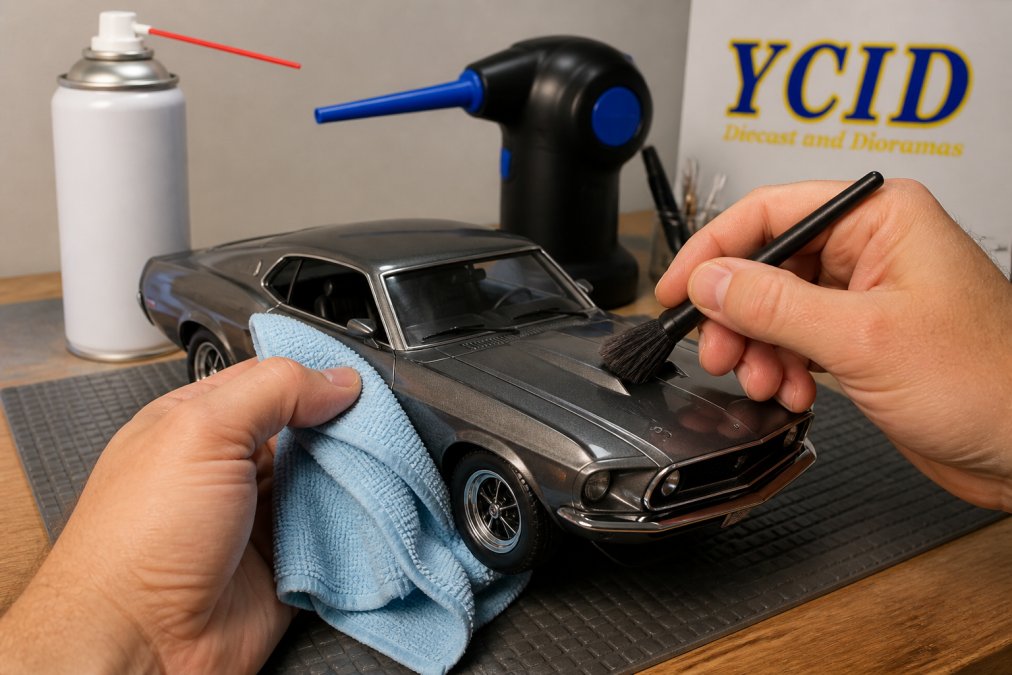
- Set up a clean, well-lit workspace. Lay down a microfiber towel so dropped parts land soft.
- Remove loose dust with a soft-bristled brush. Work top to bottom, and let the brush do the lifting.
- Use air only for trapped debris. Keep the nozzle six inches away and use short bursts under three seconds.
- Wipe flat surfaces with a microfiber cloth. Use light pressure and a fresh section of cloth per panel.
- Clean glass and chrome last. A separate cloth prevents grit from scratching these surfaces.
- Inspect decals and clear coat. Stop if you see lifting edges or a dull film.
- Return the model to its case or display. Dust settles fast on an open shelf.
Scale-Specific Pressure Guidelines
Pressure needs to change with scale. A 1:64 model has thinner plastic and smaller parts than a 1:18 model, so it tolerates far less force.
| Scale | Max Safe Pressure | Air Tool to Use | Watch Out For |
|---|---|---|---|
| 1:64 | Lowest setting | Electric duster, low | Mirrors, antennas |
| 1:24 | Low to medium | Electric duster | Decals, thin trim |
| 1:18 | Medium | Airbrush, regulated | Clear coat, badges |
Handling Delicate Parts, Decals, and Clear Coat
Delicate parts need hand cleaning, not air. Decals, photo-etched badges, and clear coat are the three surfaces most likely to fail under a compressed air burst, and each one fails differently.
For these areas:
- Switch to a soft brush and light strokes
- Use a slightly damp microfiber cloth for stubborn dust
- Never aim air directly at a decal edge
- Support thin parts with a finger while you clean nearby
Alternative Air Sources and Damage Repair
Safer air sources exist, and most cost less over time than replacing cans. The three realistic options are canned air, an electric duster, and a regulated airbrush or small compressor. They are not interchangeable, and the differences matter more than the marketing suggests.
What to Do If You Damage a Model
If damage has already happened, act fast and match the fix to the failure:
- Residue film: wipe gently with a microfiber cloth, then a mild plastic-safe cleaner. Do not scrub, the film sits on top of the finish, and scrubbing drives it into texture.
- Lifted decal: press it back with a soft, slightly damp cloth and let it dry flat. Do not use air to flatten it; air is what lifted the edge in the first place.
- Hairline paint cracks: leave them alone. Polishing usually makes them worse by opening the crack and pushing compound into it.
- Snapped parts: store the piece and repair with a tiny dot of model adhesive. Support the part while the adhesive sets so it dries in alignment.
- Clouded clear coat: this is the hardest case. A plastic-safe polish applied by hand in small circles can sometimes lift the film, but if the clouding is in the coat rather than on it, the damage is permanent.
Maintenance, Storage, and How Often to Clean
A practical schedule looks like this:
- Displayed in a sealed case: light dusting every two to three months
- Open shelving: dust every three to four weeks
- Handled regularly: inspect and clean after each handling
- Stored in boxes: check once a year for dust and moisture
When you do buy new pieces, quality control matters as much as cleaning. At YCID Diecast and Dioramas, we build 1:18 scale American muscle cars and display dioramas in 1:18, 1:24, and 1:64 scales. Our dioramas work with models from other makers too, which makes them a practical home for a mixed collection.
Frequently Asked Questions
Can compressed air damage the paint on diecast cars?
Yes, if you hold the nozzle too close or use high pressure. Canned air can crack clear coat, lift decals, and push dust into seams. Keep the can at least 6 inches away, use short bursts, and never invert it. For delicate parts, an electric duster on low setting is safer than canned air because it produces no propellant residue or freezing cold.
How do you safely remove dust from delicate diecast parts?
Start with a soft-bristled brush to loosen dust from grilles, vents, and wheel spokes. Follow with a microfiber cloth for flat surfaces. If you use compressed air, keep pressure low and the nozzle at a distance. For 1:64 scale models with tiny details, skip the can entirely and use a brush plus an electric duster. Static electricity can pull dust back, so wipe with a slightly damp microfiber cloth.
What is the best way to clean a dusty diecast model?
Work from top to bottom. Use a soft-bristled brush to lift dust from the roof, hood, and trunk, then move to the sides and wheels. A microfiber cloth handles fingerprints and smudges. For stubborn grime, use a small amount of mild cleaning solution on the cloth, never directly on the model. Avoid solvents and automotive polish unless the model is bare metal. Compressed air works for hard-to-reach areas but is not a substitute for brushing.
How often should you clean your diecast collection?
Displayed models collect dust continuously, so a light brushing every 2 to 4 weeks keeps them presentable. Models in enclosed cases can go 2 to 3 months between cleanings. Deep cleaning with a microfiber cloth and brush should happen every 6 months. If you live in a dusty area or keep models on open shelves, clean more often. Preventative maintenance beats trying to remove caked-on dust later.
Dust, residue, and fragile decals are the three things that quietly age a collection. YCID Diecast and Dioramas can help you protect it with collector-focused models and precision display dioramas built for the long term. Browse our in-stock 1:18 scale muscle cars and dioramas, take advantage of free shipping on in-stock orders over $300, and give your collection the display it deserves. Get started with YCID Diecast and Dioramas and keep every model looking showroom-ready.