How to Safely Clean Dust From Delicate Diorama Scenery
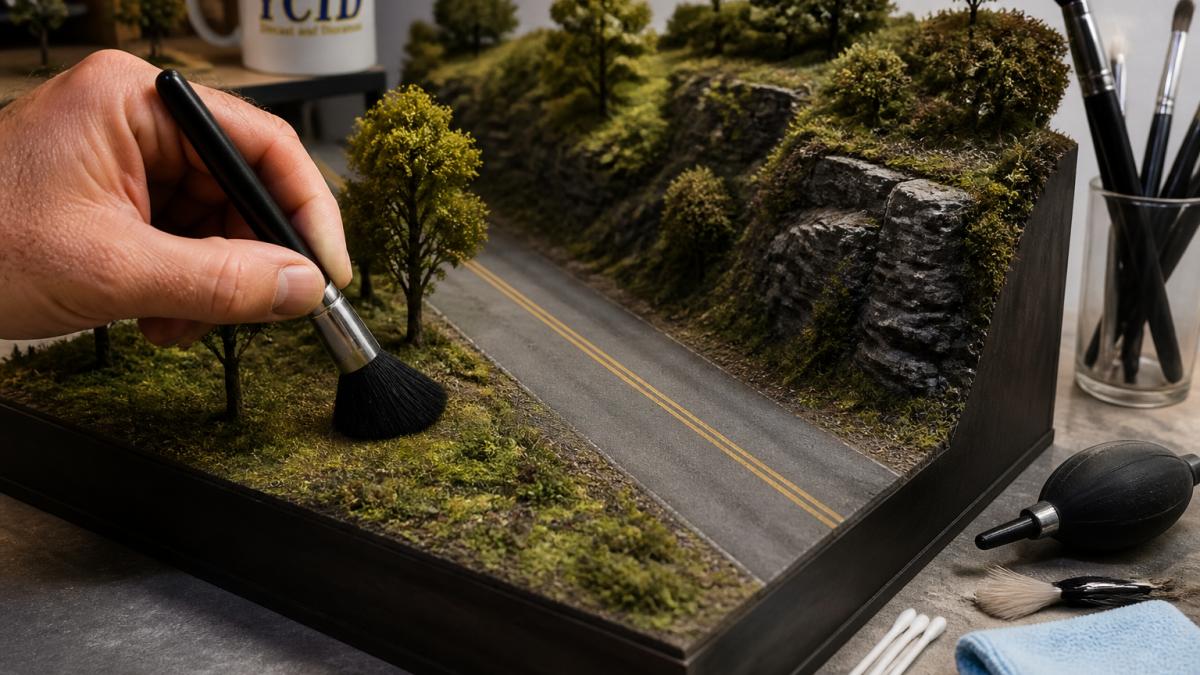
Table of Contents
- Why Dust Removal Matters for Scale Model Dioramas
- Essential Tools for Cleaning Model Dioramas
- Step-by-Step Cleaning Process for Diorama Scenery
- Cleaning Static Grass and Flocking on Dioramas
- How to Prevent Dust on Diecast Displays
- Safety Precautions for Delicate Models
- Repairing Damage Caused by Cleaning
- Common Mistakes to Avoid
- Frequently Asked Questions
Last Updated: September 28, 2026
Why Dust Removal Matters for Scale Model Dioramas
Dust is the silent enemy of any display. Your carefully detailed 1:18 scale diorama scenery, the painted foam board, the static grass, the delicate trees and bushes, attracts particles like a magnet. Over time, a thin layer of grime settles on every surface, dulling the colors and obscuring the fine details you spent hours perfecting.
The problem gets worse the longer you wait. Dust particles bond to paint and adhesive. They become harder to remove without risk of damage. Collectors often struggle with this exact issue: they build beautiful dioramas, display them proudly, then watch the details fade under accumulated dust.
The good news is straightforward. You can safely clean dust from delicate diorama scenery if you use the right approach and tools. The key is understanding how to safely clean dust from delicate diorama scenery without damaging the fragile materials underneath.
Essential Tools for Cleaning Model Dioramas
You don't need expensive equipment. The best tools for cleaning model dioramas are simple, affordable, and readily available. Having the right gear prevents damage that would take far longer to repair than the cleaning itself.
Soft-Bristled Brushes and Micro-Fiber Cloths
Start with soft-bristled brushes. These are your first line of defense against dust. Look for brushes with natural bristles, they're gentler than synthetic ones on delicate scenery materials.
Micro-fiber cloths are equally important. They trap dust particles without scratching paint or weathering effects. Unlike cotton cloths, micro-fiber doesn't leave lint behind. When you wipe a painted surface, the micro-fiber grabs dust without leaving residue.
A good combination:
- Small soft-bristled brush (1-2 inches wide) for detail work
- Medium soft-bristled brush (3-4 inches) for larger surfaces
- Micro-fiber cloth for final polishing
Compressed Air Techniques
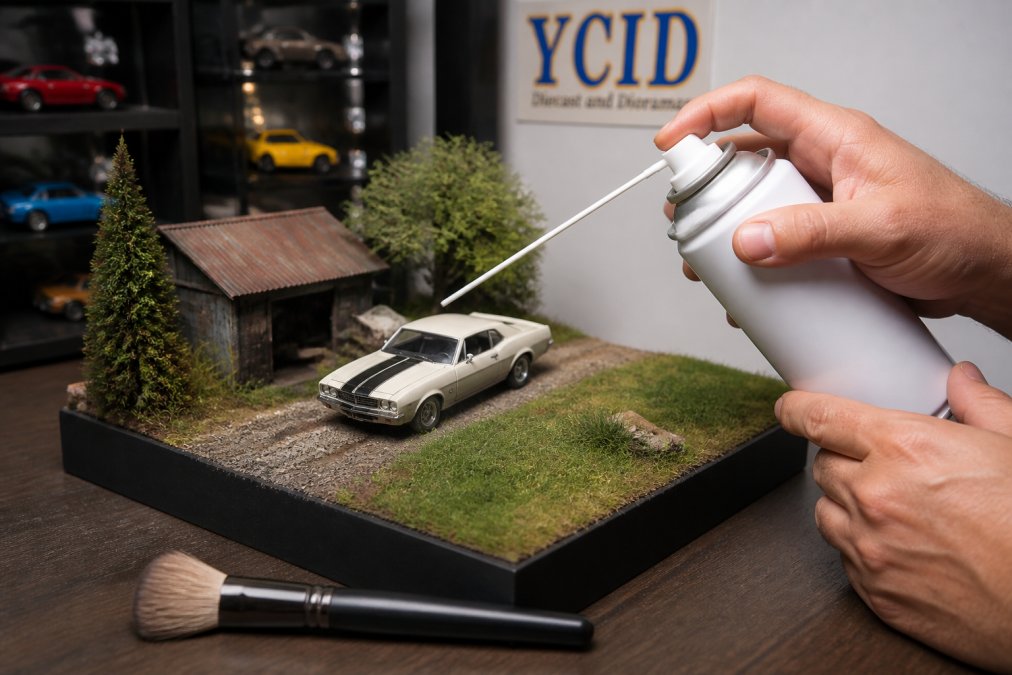
Compressed air is powerful but requires careful handling. The goal is to blow dust away, not blast your diorama apart.
Use short, controlled bursts. Hold the canister upright and maintain distance, at least 6-8 inches from your scenery. Never use the highest pressure setting. Start low and increase only if needed.
Compressed air works best on:
- Static grass and flocking (it lifts particles without damaging fibers)
- Tight spaces between trees and structures
- Crevices where brushes can't reach
One warning: compressed air can move light materials like static grass or scatter fine particulate matter. Use it first, before any brushing, to avoid spreading dust around.
Step-by-Step Cleaning Process for Diorama Scenery
Follow this process to safely clean dust from delicate diorama scenery without causing damage.
Step 1: Assess Your Diorama Materials
Before you touch anything, identify what you're working with. Different materials need different approaches.
Ask yourself these questions:
- What is the base made from? (foam board, cardboard, plastic, resin)
- What's the scenery built with? (foam, plaster, plastic, resin castings)
- What type of paint was used? (acrylic, enamel, lacquer)
- Does it have static grass or flocking? (these are delicate and prone to damage)
- Are there adhesives holding things together? (some solvents can weaken glue bonds)
This assessment takes 2-3 minutes but prevents mistakes. If you're unsure about a material, test your cleaning method on a hidden area first.
Step 2: Remove Loose Debris With Compressed Air
Start with compressed air. This removes the bulk of loose dust without any contact.
Hold the diorama steady. Use short bursts of air, moving systematically across the scenery. Pay attention to crevices, under trees, and between structures where dust accumulates.
Keep these points in mind:
- Hold the canister upright (tilting can release liquid propellant)
- Maintain 6-8 inches distance from delicate components
- Use brief bursts, not continuous streams
- Work from top to bottom (gravity helps)
This step alone removes 60-70% of loose particulate matter. The remaining dust is more stubborn and requires brushing.
Step 3: Use Soft Brushes on Delicate Components
Now comes the careful work. Use your soft-bristled brush with gentle, deliberate strokes.
Brush in one direction, not back-and-forth. This prevents pushing dust deeper into crevices or into adhesive joints. Light pressure is all you need, let the bristles do the work.
For different surfaces:
- Painted foam board: Brush lightly parallel to the surface, never in circles
- Fine detail work: Use a smaller brush and reduce pressure further
- Weathered surfaces: Brush gently to preserve the weathering effects you've applied
- Adhesive joints: Avoid brushing directly on seams where pieces are glued together
Take your time. Rushing this step is where damage happens.
Step 4: Address Residue and Fine Particulate Matter
After brushing, you may notice fine dust still clinging to surfaces. This is particulate matter that has bonded slightly to paint or weathering effects.
For this, use a barely damp micro-fiber cloth. The key word is barely, the cloth should be just slightly moist, not wet.
Mr Norms Grand Spaulding Dodge Showroom →
Wipe gently across painted surfaces. The micro-fiber will lift fine dust without leaving water marks. Let the diorama air dry completely before moving it.
If you have stubborn residue on non-porous surfaces like plastic or resin, a tiny amount of isopropyl alcohol on the micro-fiber cloth can help. Test this on a hidden area first. Alcohol can affect certain paints and adhesives, so use it sparingly.
Cleaning Static Grass and Flocking on Dioramas
Static grass and flocking are beautiful but fragile. They're prone to matting, clumping, and damage from harsh cleaning methods.
Compressed air is your best friend here. Short bursts lift dust from flocking without bending or breaking individual fibers. Hold the canister at a slight angle and work gently across the grassed areas.
If compressed air alone doesn't remove all dust, use a very soft brush, even softer than your standard detail brush. Brush in the direction the grass naturally lays. Never brush against the grain.
For stubborn dust in flocking, a light touch with a barely damp micro-fiber cloth works. Avoid wringing or twisting the cloth, just dab gently. Let it dry completely before handling.
One insider tip: static grass and flocking attract dust more readily than other scenery materials. Preventative care (which we'll cover next) is especially important for these elements.
How to Prevent Dust on Diecast Displays
Prevention is always easier than cleaning. A few simple habits keep your dioramas looking fresh longer.
DIY Dust Covers and Display Cases
The simplest solution is a dust cover. You don't need to buy an expensive display case, a DIY cover works just as well.
Options you can make yourself:
- Clear acrylic or plastic sheet cut to size and propped over the diorama
- Clear plastic storage container (large enough to fit over your display)
- Custom-built wooden frame with clear acrylic front
- Simple fabric cover (use light-colored, lint-free material)
The goal is blocking dust while allowing visibility. Make sure covers don't touch delicate scenery, leave at least 1-2 inches of clearance.
For collectors with multiple dioramas, display cases are worth considering. YCID Diecast and Dioramas offers dioramas like the Mr Norms Grand Spaulding Dodge Showroom that come with removable front panels, this design naturally protects your display while keeping models accessible for viewing.

Preventative Maintenance Routines
Set a schedule. Dust your dioramas every 4-6 weeks with a quick pass of compressed air and a soft brush. This takes 5-10 minutes and prevents heavy buildup.
Keep these practices in mind:
- Clean in a well-ventilated area away from fans (fans blow dust around)
- Avoid cleaning near open windows during windy days
- Store dioramas away from high-traffic areas when possible
- Keep pets away from displays (pet hair is a major dust source)
- Cover displays during construction or renovation work in your home
Regular light maintenance beats occasional deep cleaning every time.
Safety Precautions for Delicate Models
Your dioramas contain materials that need respect. A few precautions prevent costly mistakes.
Never use harsh chemicals. Solvents like acetone, mineral spirits, or strong degreasers can damage paint, dissolve adhesives, and degrade foam and plastic. Stick to mild soap, water, and isopropyl alcohol only, and test alcohol on a hidden spot first.
Avoid excessive moisture.
Repairing Damage Caused by Cleaning
Sometimes mistakes happen. A brush slips. You use slightly too much pressure. Here's how to fix common cleaning-related damage.
Common Mistakes to Avoid
Learn from others' errors so you don't repeat them.
Mistake 1: Using compressed air at maximum pressure. This is the most common error. High pressure scatters dust everywhere and can damage delicate components. Start low and increase gradually if needed.
Frequently Asked Questions
How do you remove dust from delicate model scenery without causing damage?
Start with compressed air held 6-8 inches away to dislodge loose dust, then use a soft-bristled brush with gentle circular motions. For stubborn residue on foam board or plastic components, lightly dampen a micro-fiber cloth with distilled water and dab gently. Always work from top to bottom so debris falls away naturally.
What are the best tools for cleaning model dioramas?
Invest in a soft-bristled brush (natural bristles work best), compressed air canister, and micro-fiber cloths.
Can you use water to clean static grass and flocking on dioramas?
Static grass and flocking are sensitive to moisture and can lose adhesion or clump if wet. Use compressed air first to remove surface dust. For most situations, dry methods, compressed air and soft brushes, are safer and more effective for preserving flocking integrity.
How do I prevent dust buildup on my diecast display dioramas?
Use a display case or DIY dust cover made from clear acrylic or plastic sheeting. YCID Diecast and Dioramas' Universal 2 Car Garage includes a front slide panel that keeps models inside 99% dust free while allowing visibility. For open dioramas, keep them away from high-traffic areas, ceiling fans, and air vents. Clean monthly with compressed air and soft brushes to prevent dust from settling into fine details. Store spare models in sealed boxes when not on display.